
Thank you! We are glad that you have choosen us.
Here are some basics on installing, configuring and customizing the theme that will get you started! This document is written very carefully by keeping mind Beginners, advanced users and developers.
If you are new to prestashop. Please read PRESTASHOP GUIDE first and then get along with the theme document.
In case our documentation does not serve your queries.Feel free to contact our support team. Please be sure to include your site URL as well as your admin and FTP details when you contact our support team.
Our support covers configurations related to the theme, trouble using any features of the theme and bug fixes with the theme. We don't provide support for customizations or 3rd party extensions.
We try our best to serve our clients around the clock, however, this is not always possible due to different time zones. The team will try to reply you as fast as possible.
In case you ask for help in the weekend, you may have to wait a little bit for support, please be patient.
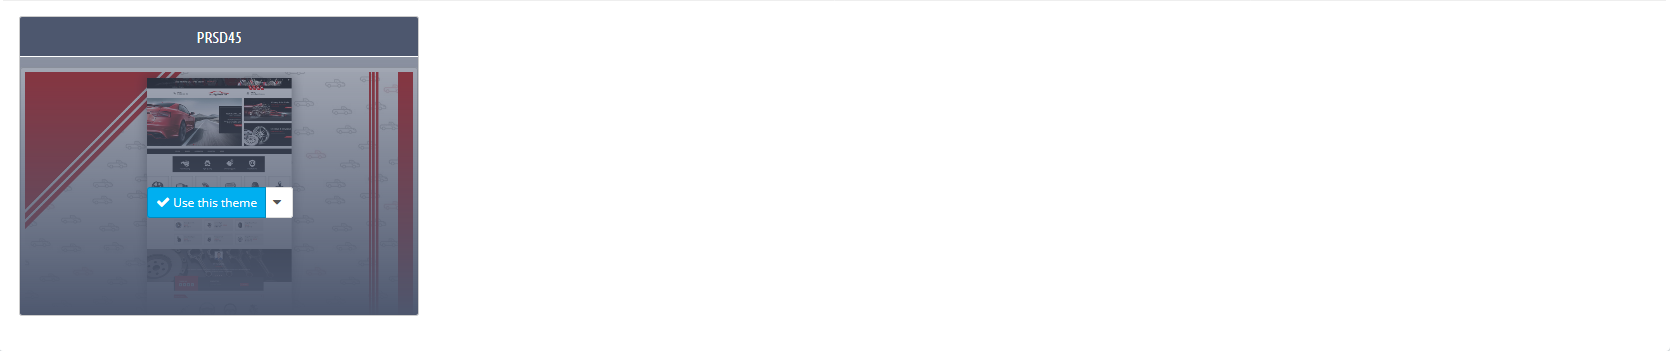
There are two options to upload a theme package.
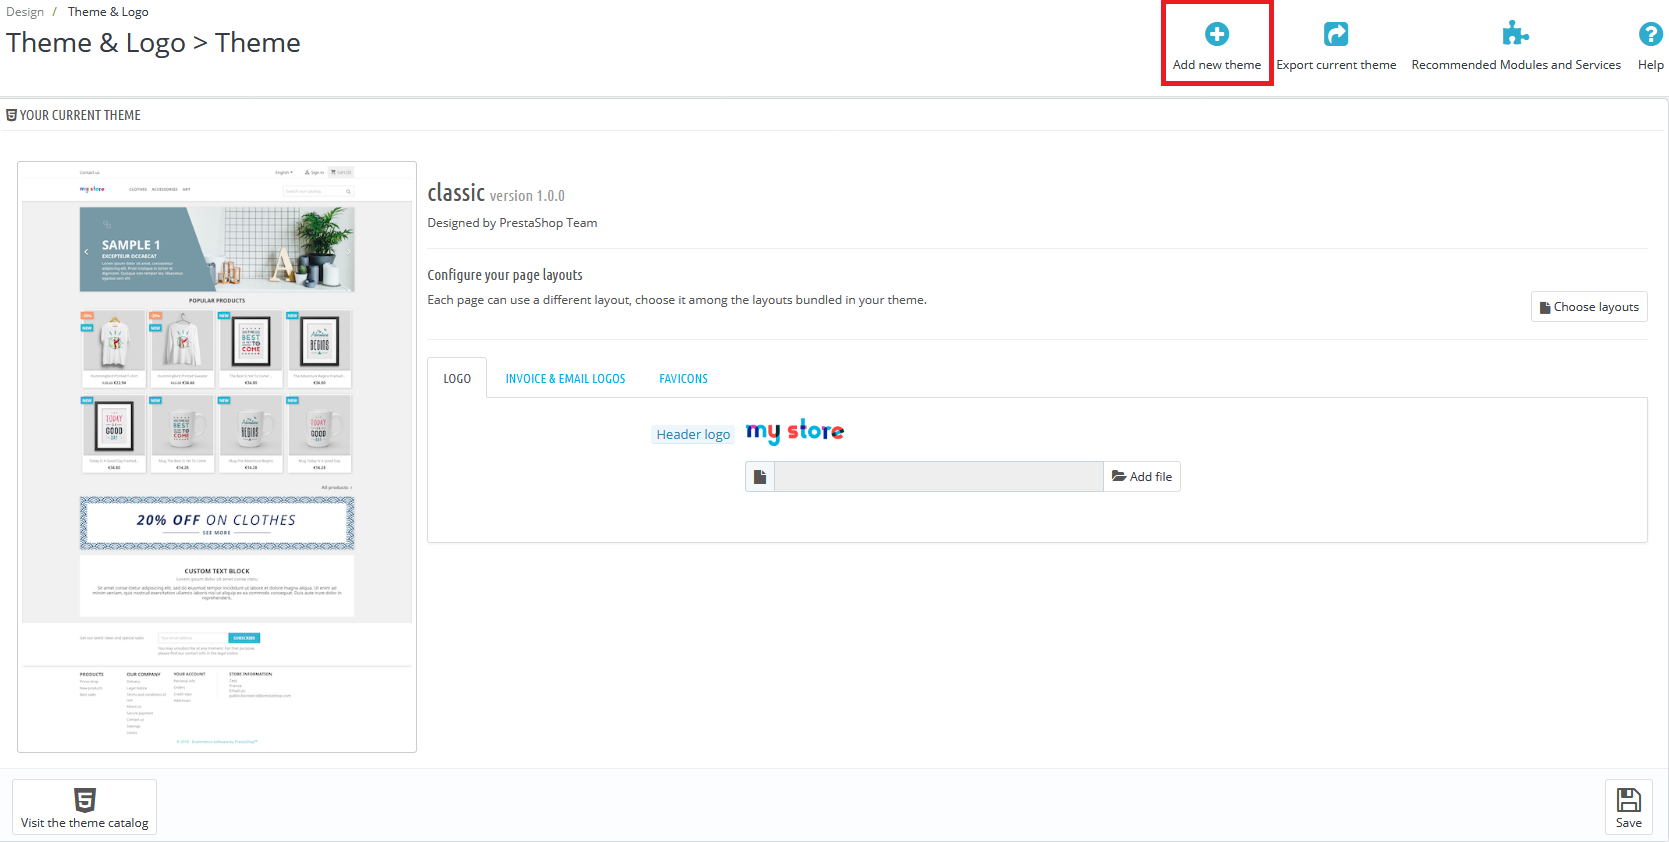


Theme Logo is the main logo of your theme which is displayed at top of the page. To update the theme logo follow these steps:

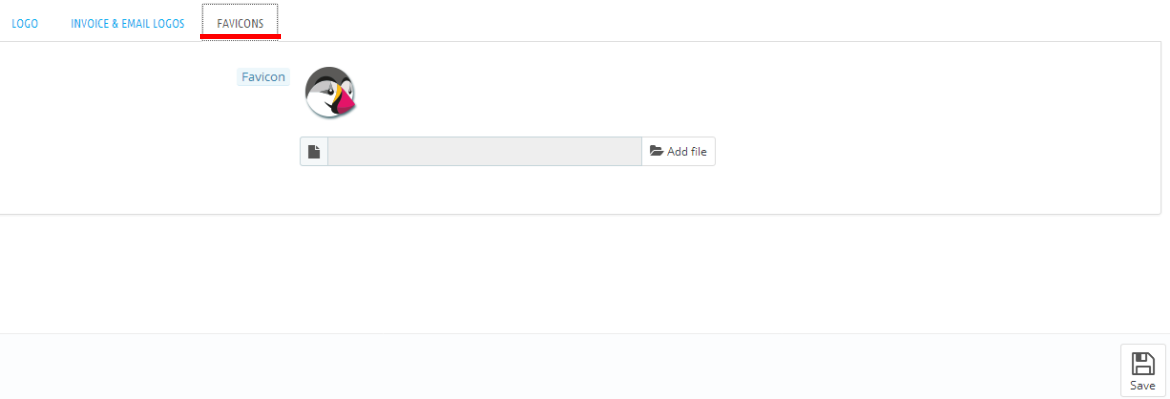
Favicon is the small icon displayed in the browser tab title with the website name.
Description: Responsive Image slider that allows you to create unlimited layers with images. You can add your own slides to the slider with the user interface in the back office.
Multi Language: Yes
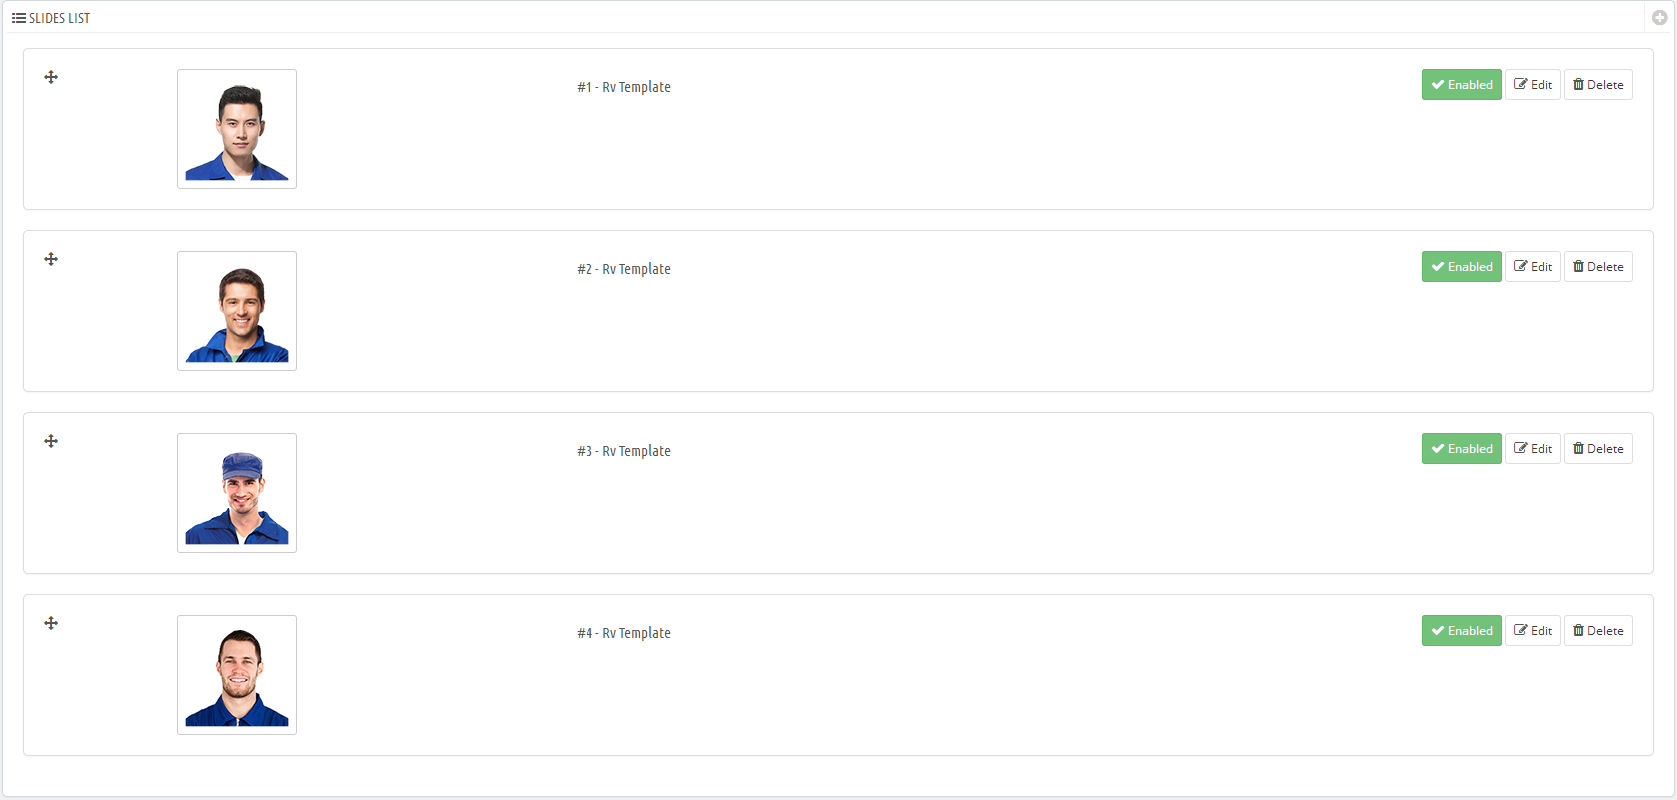
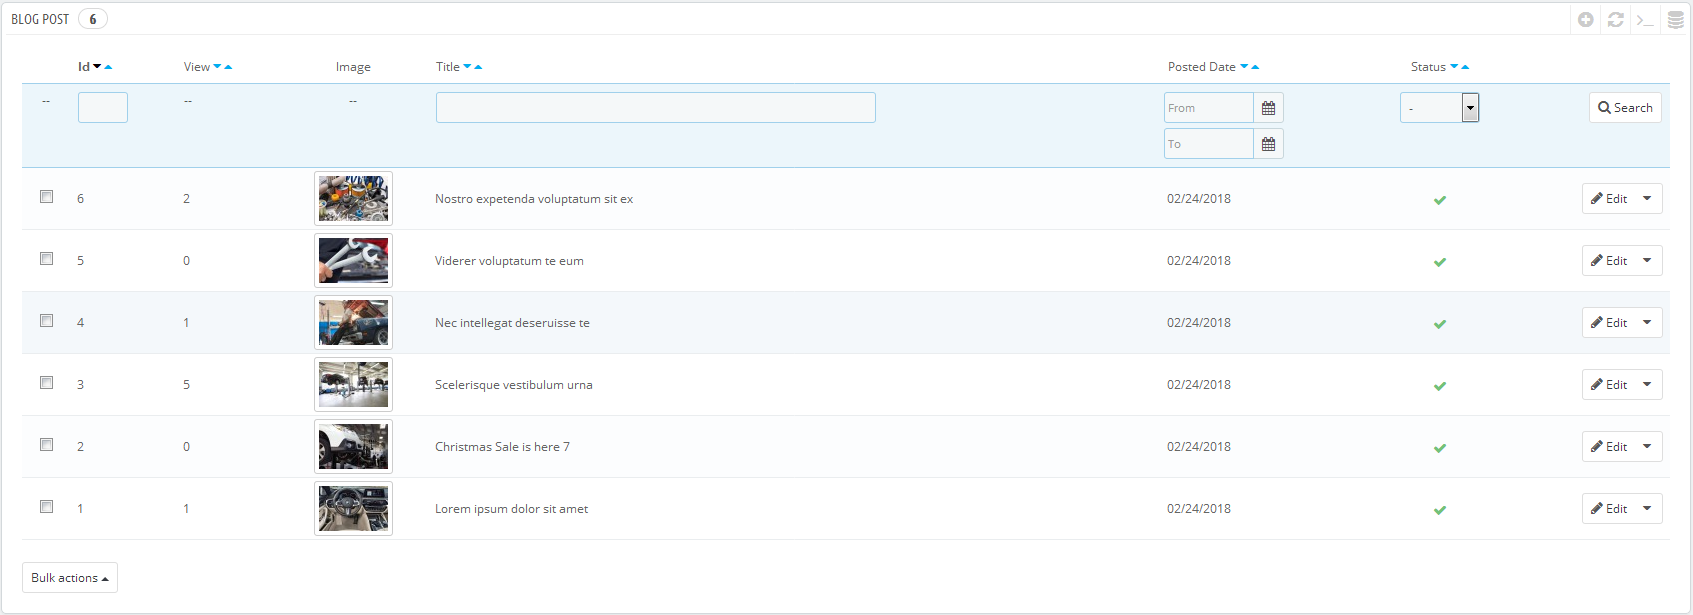
It displays list of all the slides in the RV Image slider.
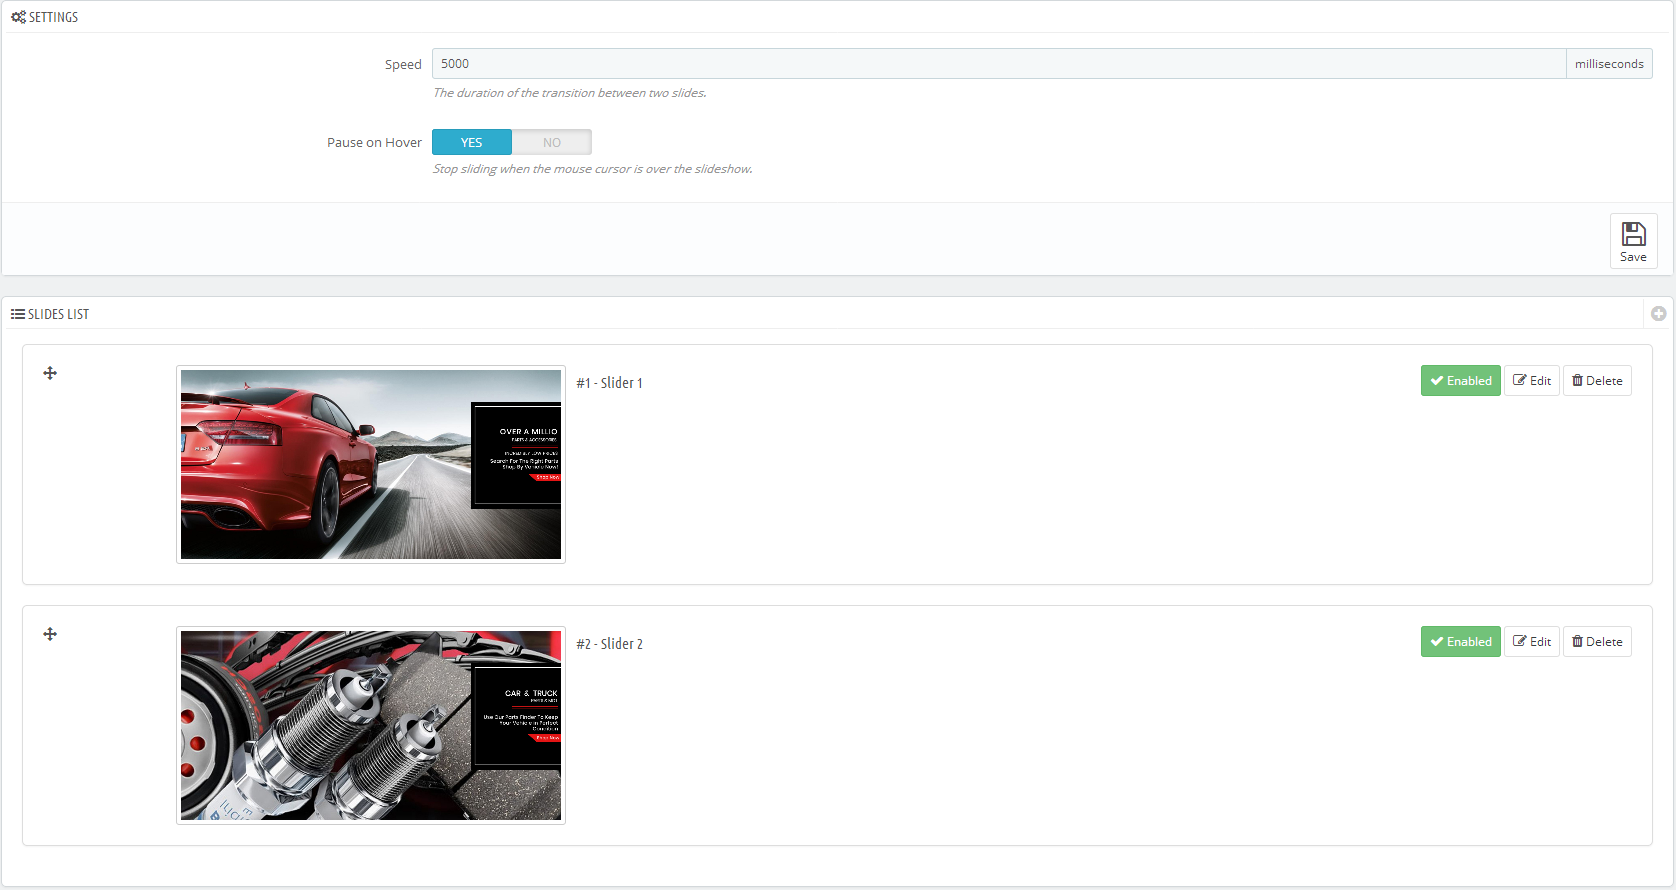
Operations that can be performed are :
Click on the plus button at top right corner in the slide list. This should navigate to Slide Information where you must enter the details for the slide to be added. 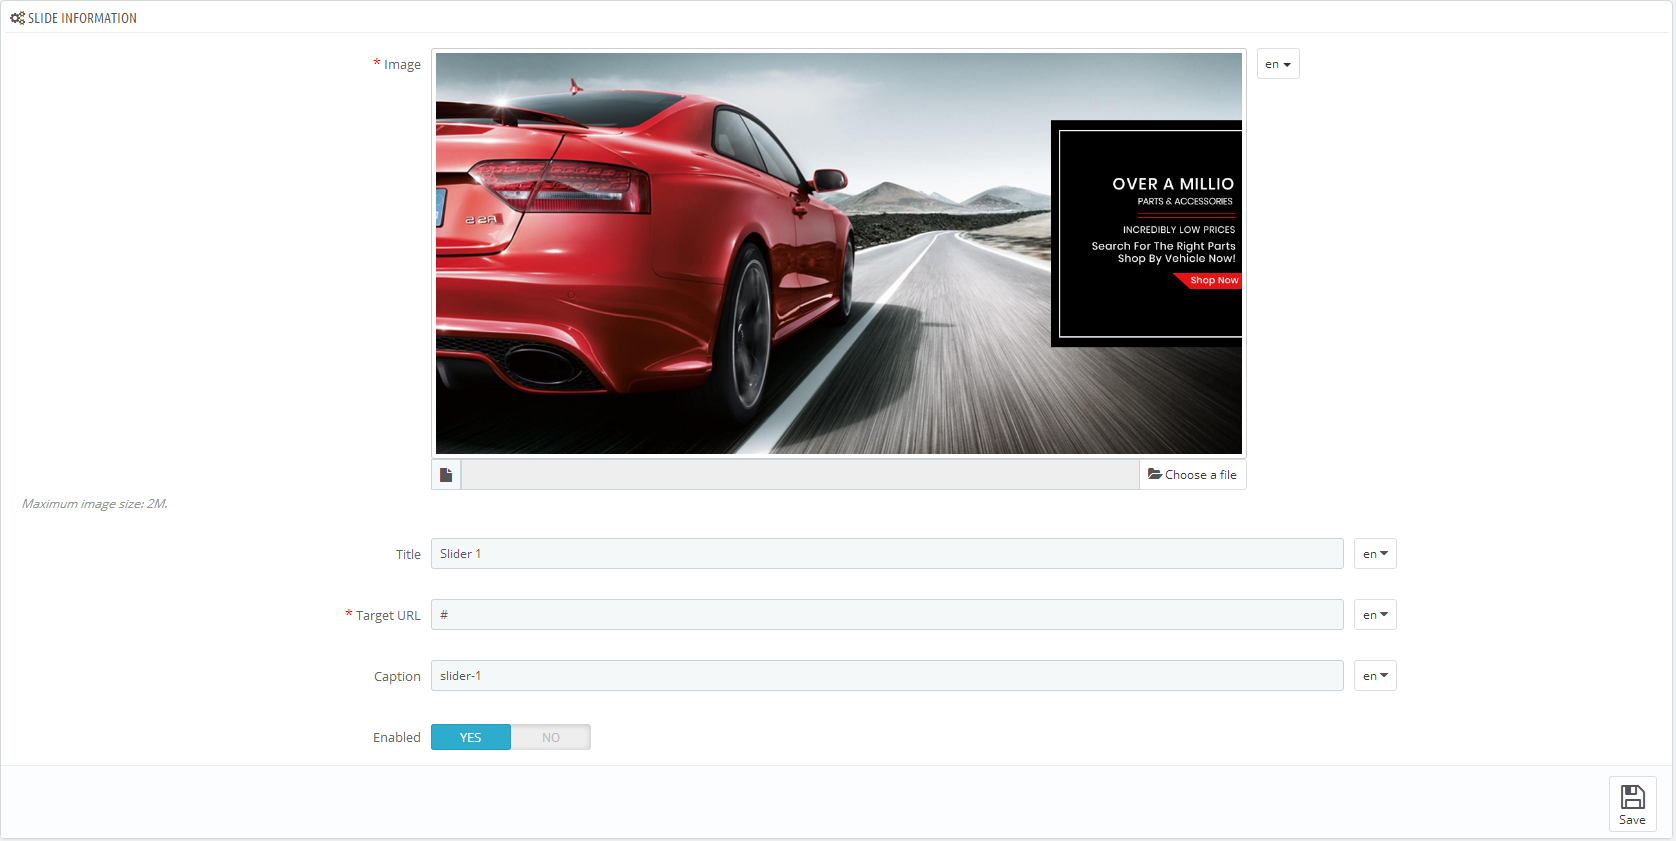 The fields which can be configured are :
Used to toggle the slide status(Enable or Disabled). A slide can be enabled or disabled with a click on this button. A disabled slide is listed in the slide list but it is not visible in the front office.
Edit navigates you to Slide Information where you can update existing inforation of a slide.
Delete button helps you to delete a slide. To delete slide, click on the "Delete" button.
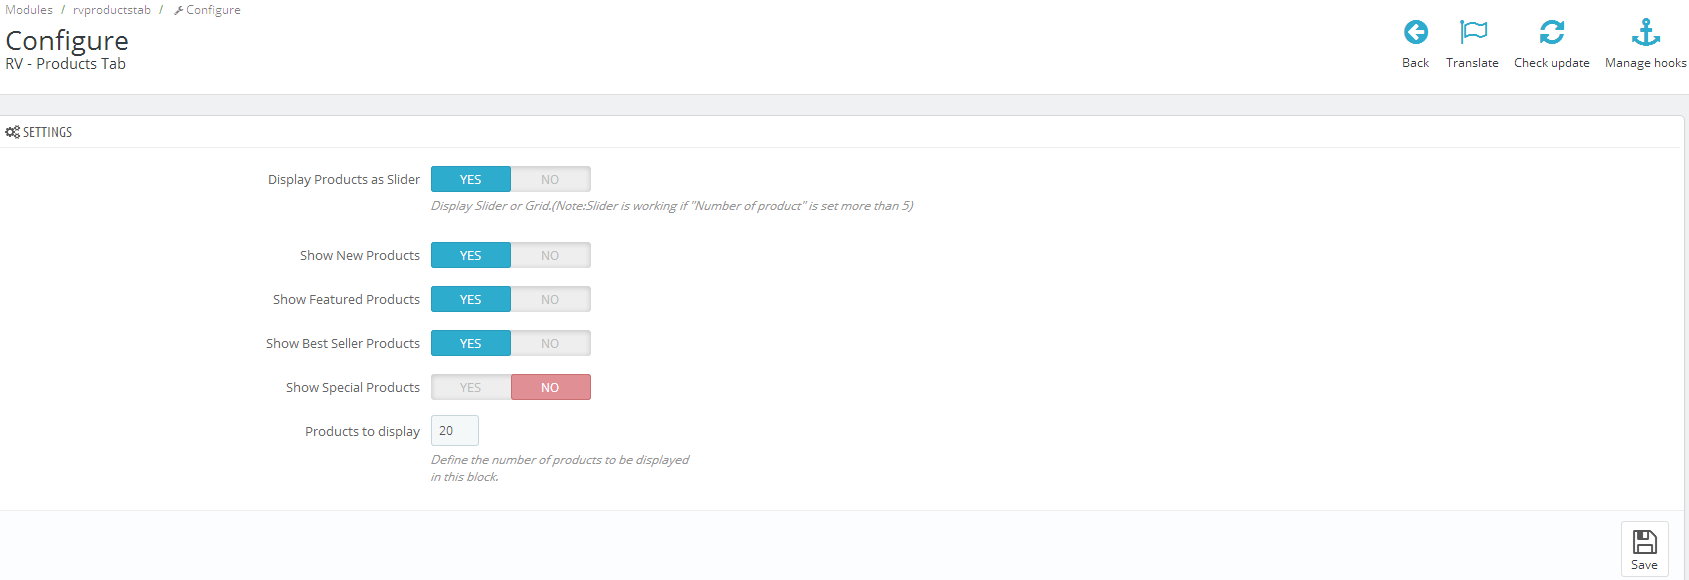
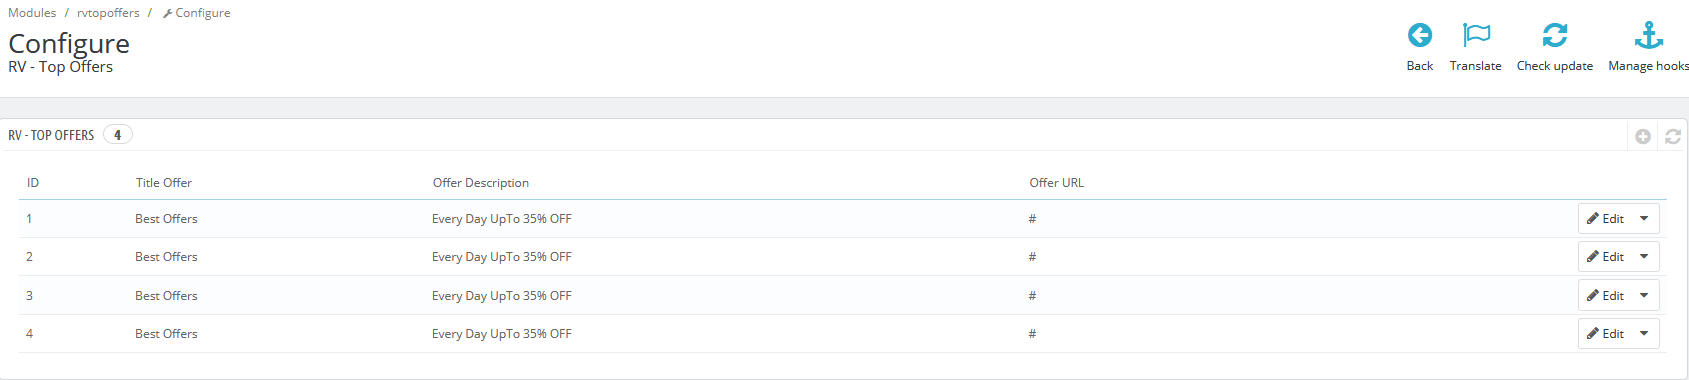
Description: RV All Products block allowes you to display, New Products, Best Selling products, Featured Products and Special Prodcts on the front office. You can enable or disable any of the four options fron the backoffice module configuration.
Multi Language: Yes
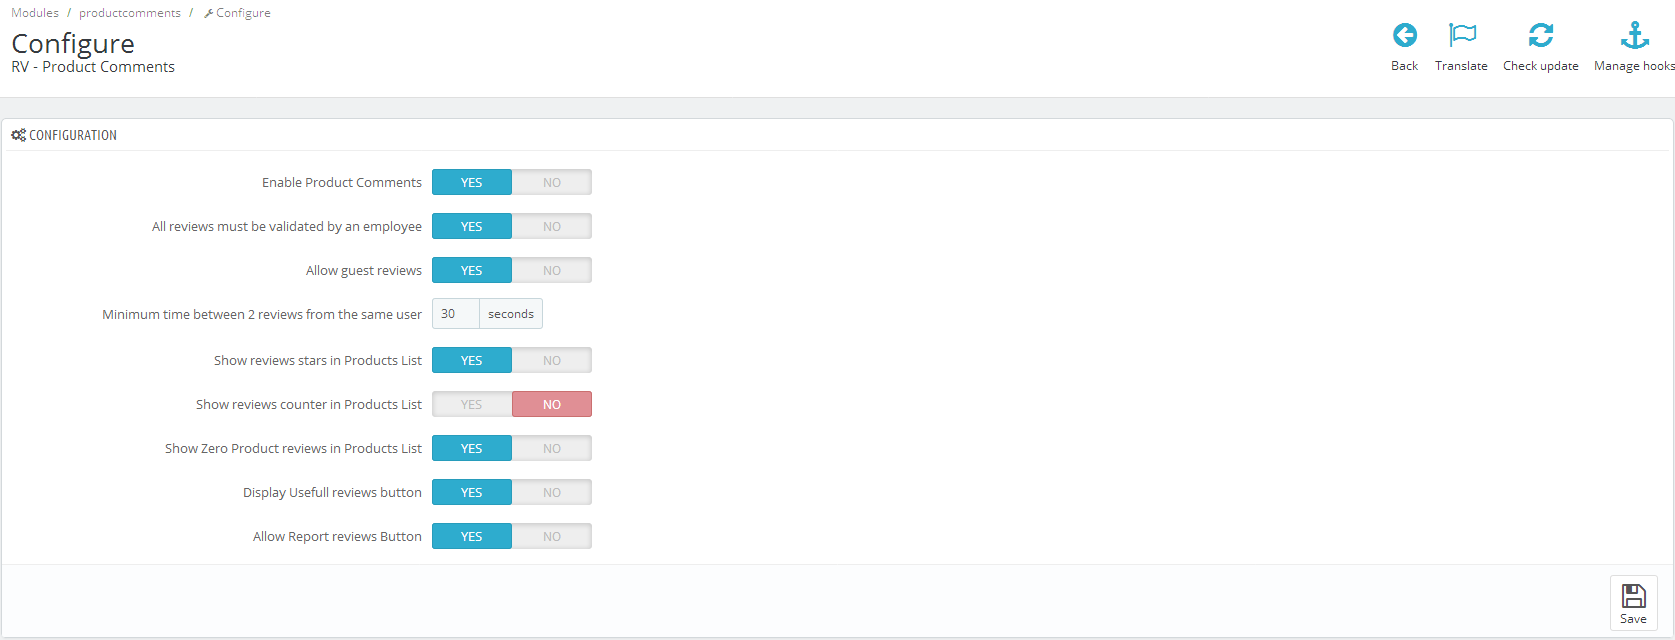
Multi Language: Yes
Multi Language: Yes
Multi Language: Yes
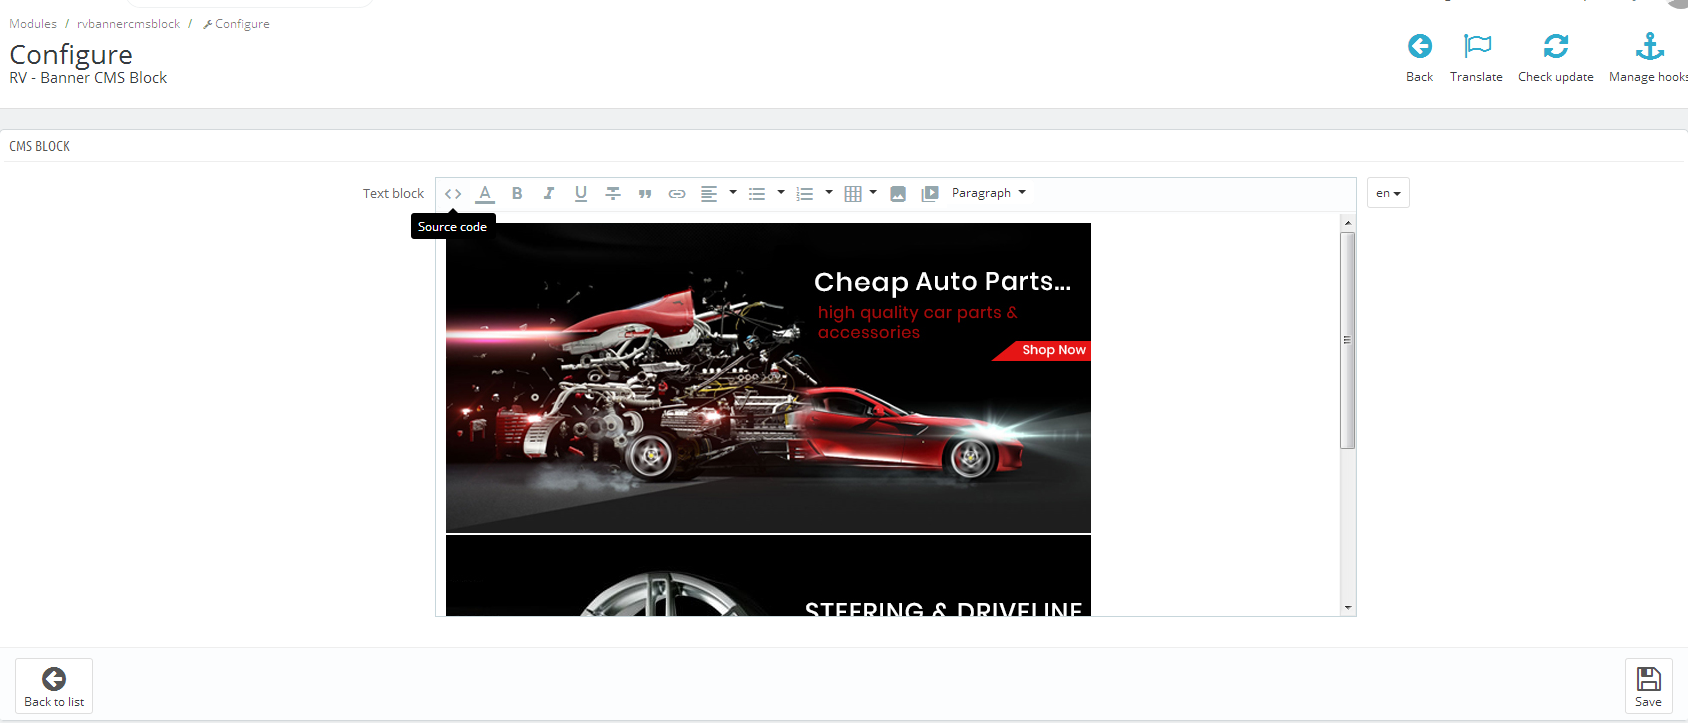
Default HTML code:
Multi Language: Yes
Multi Language: Yes
Default HTML code:
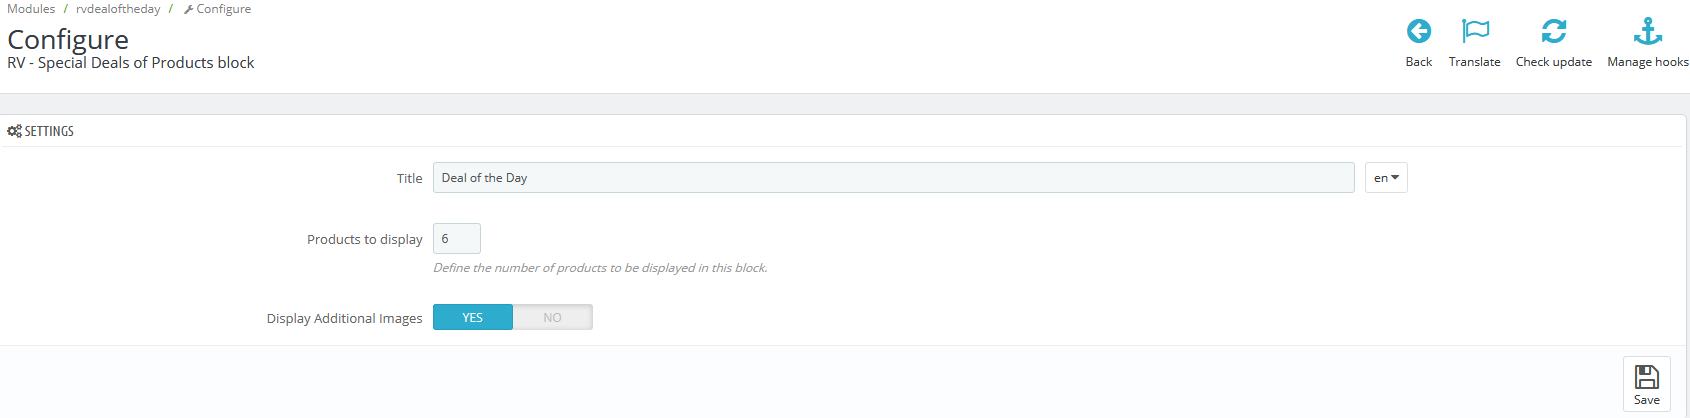
Description: The Special Products block displays the discount products. You can update default values with the user interface in the back office.
Multi Language: Yes

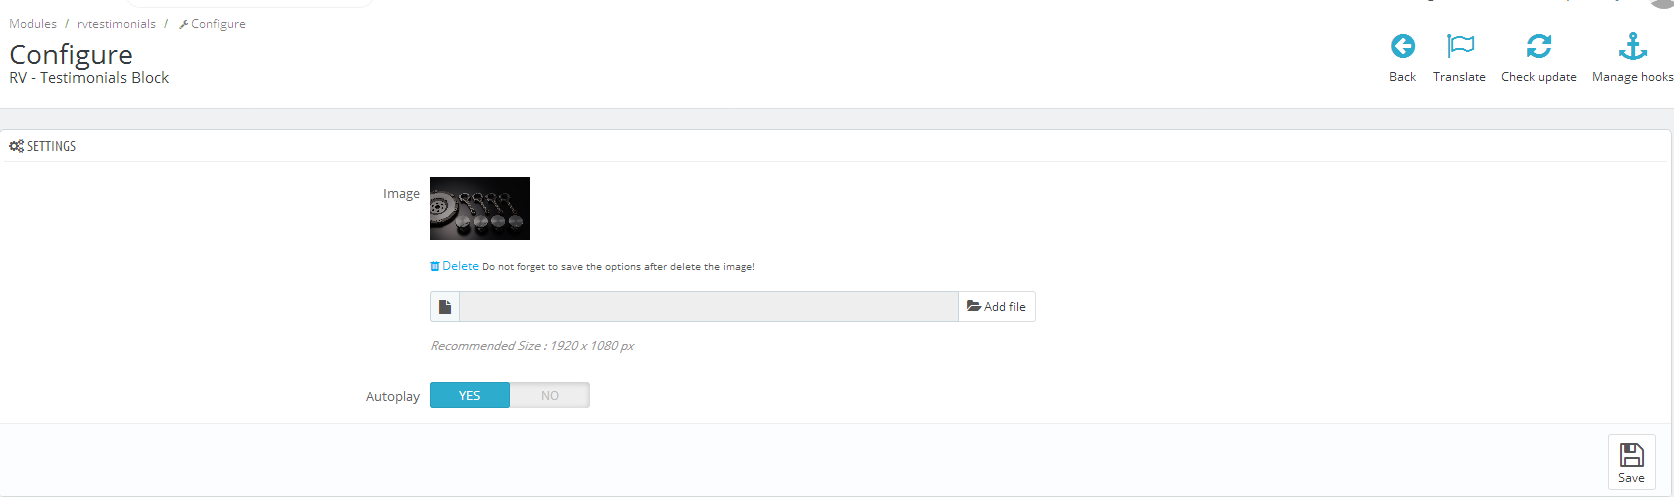
Description: RV Testimonials Block creates a separate block where you can add and show your testimonials. You can configure your client feedbacks in the backoffice.
Multi Language: Yes
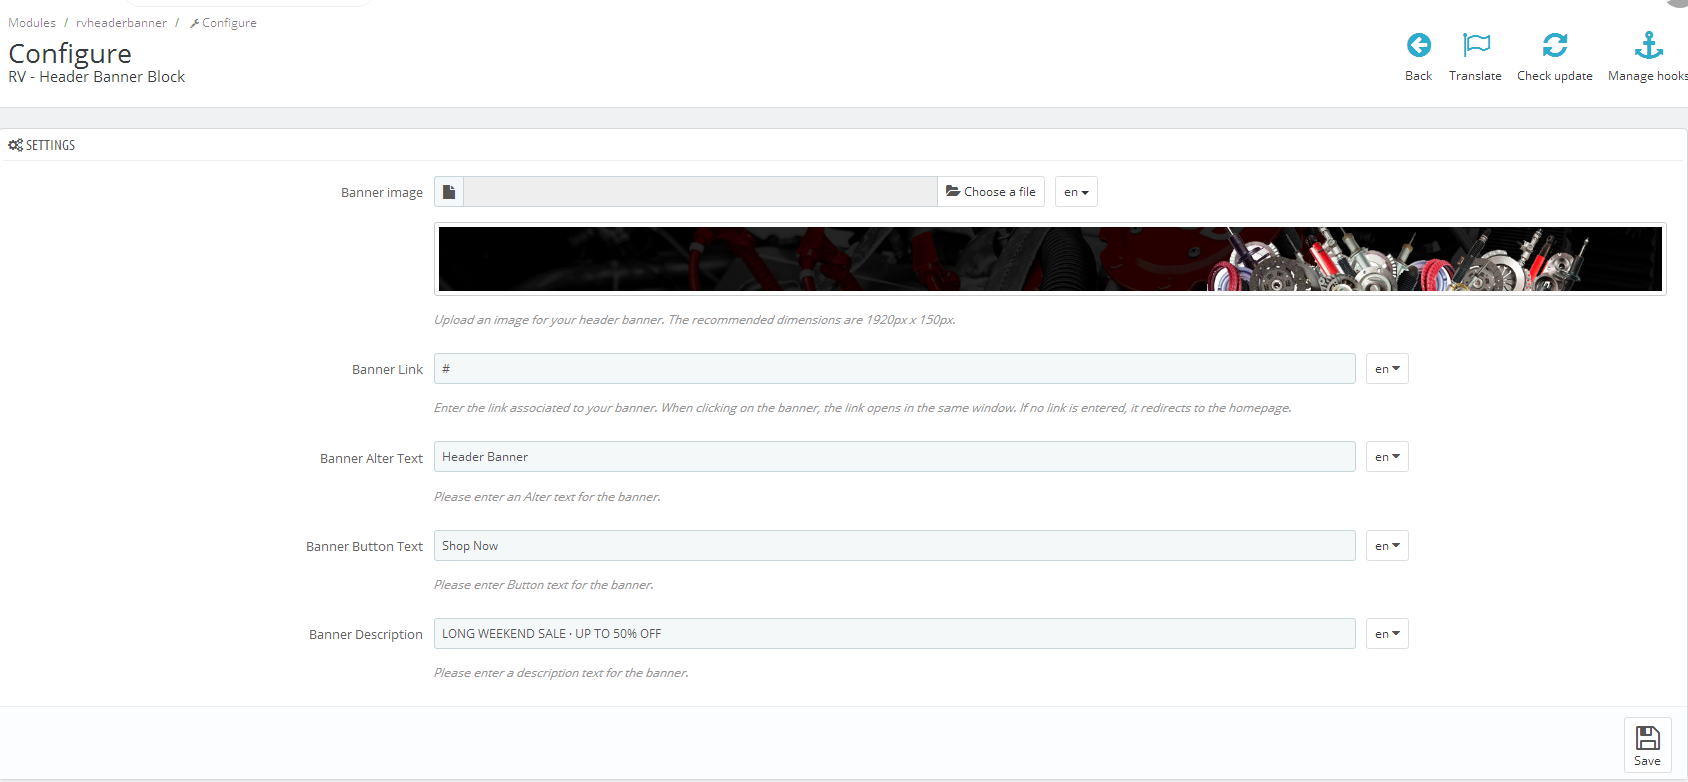
Description: The RV Left Banners Block displays banners as images in the left column of the page. You can add your own image with the user interface in the back office.
Multi Language: Yes
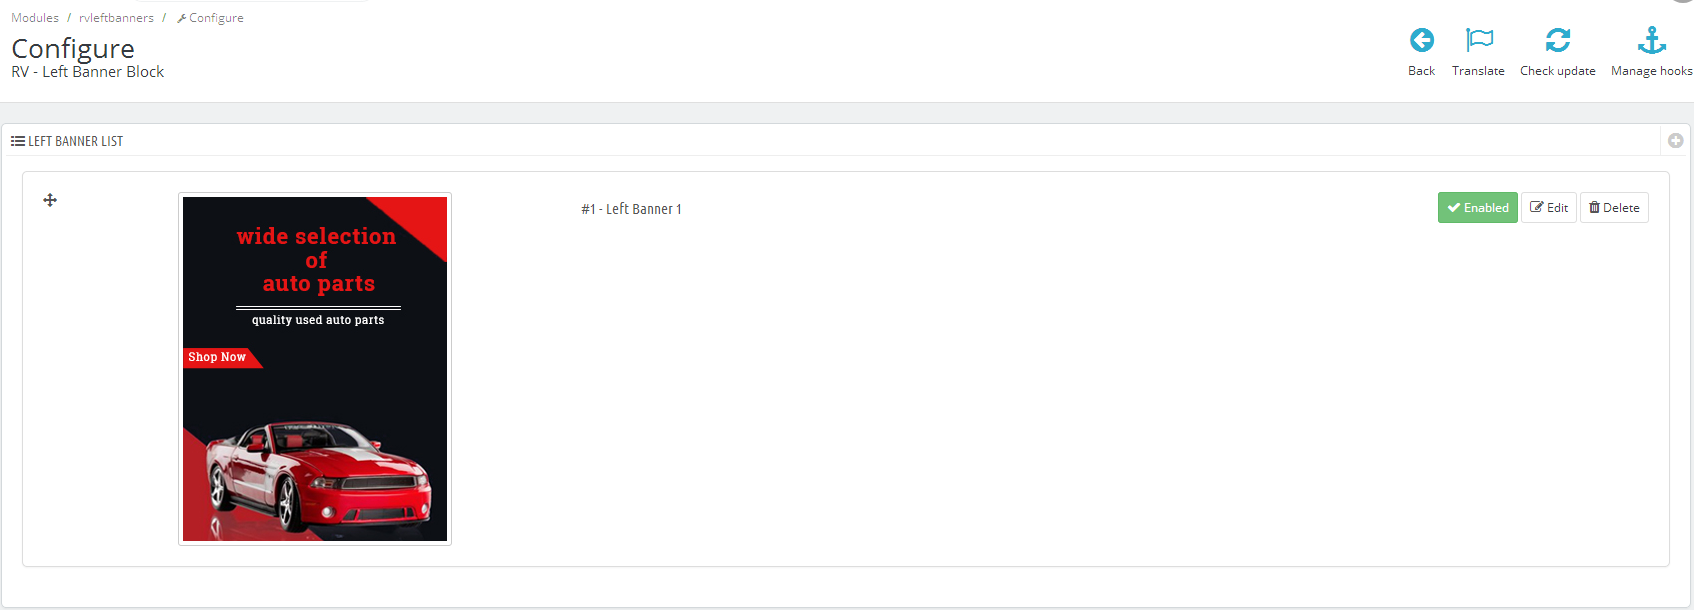 Operations that can be performed are :
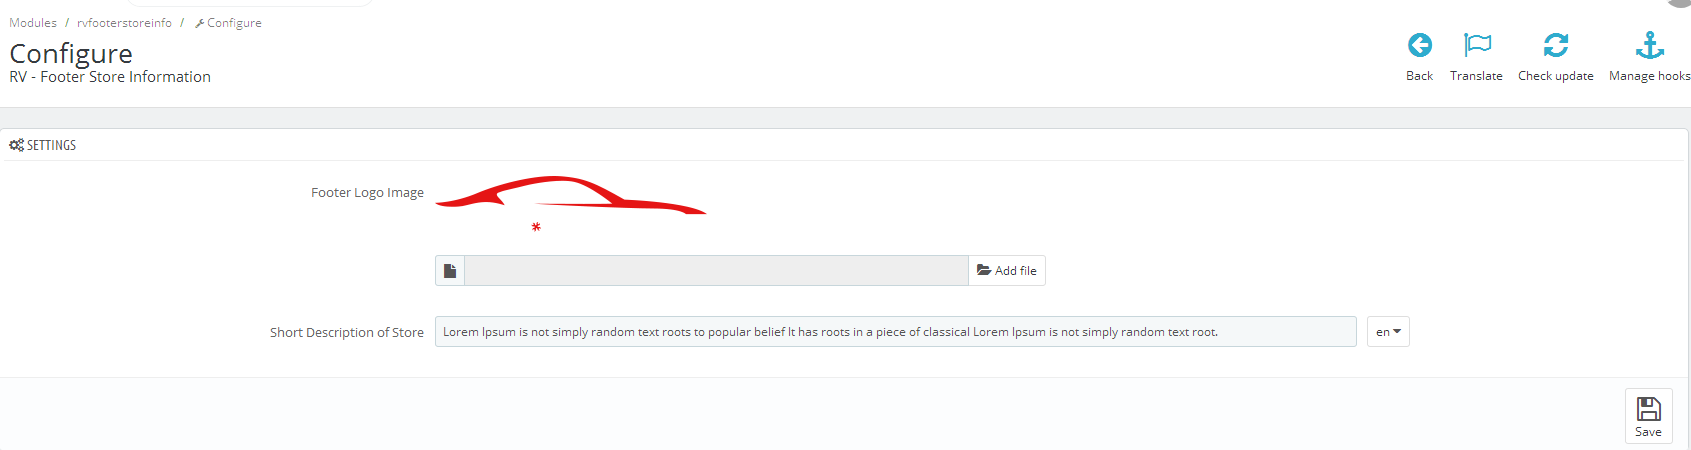
Description: It display the theme logo and description about your store. You can update the logo and change the description with the user interface in the back office.
Multi Language: Yes
Multi Language: Yes
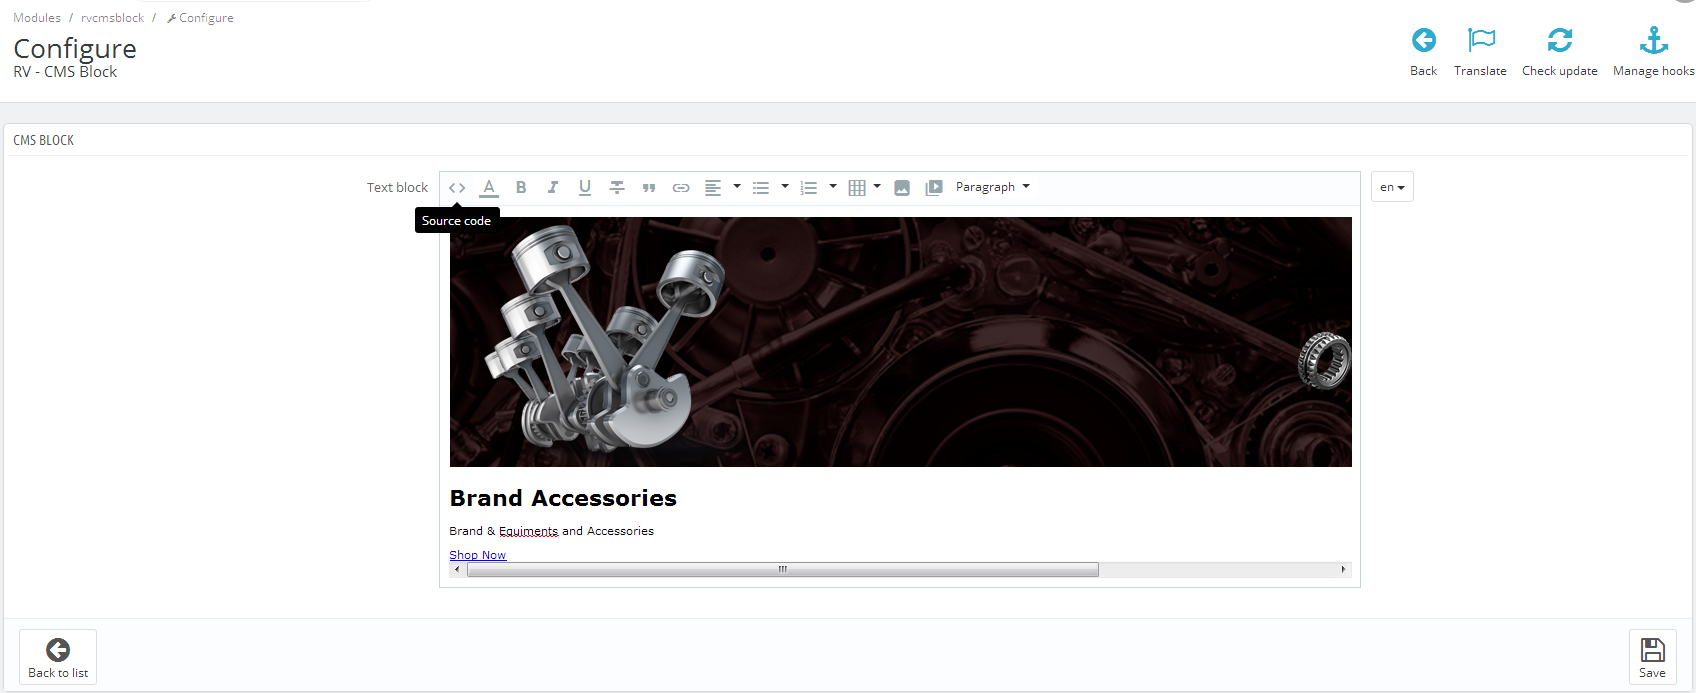
Default HTML code:
Multi Language: Yes
Multi Language: Yes
Multi Language: Yes
Multi Language: Yes
Multi Language: Yes
Multi Language: Yes
Multi Language: Yes
Multi Language: Yes
Multi Language: Yes
In case our documentation does not serve your queries.Feel free to contact our support team. Please be sure to include your site URL as well as your admin and FTP details when you contact our support team.
Our support covers configurations related to the theme, trouble using any features of the theme and bug fixes with the theme. We don't provide support for customizations or 3rd party extensions.
We try our best to serve our clients around the clock, however, this is not always possible due to different time zones. The team will try to reply you as fast as possible.
In case you ask for help in the weekend, you may have to wait a little bit for support and please be patient.